
Monday, March 17, 2014
Friday, March 7, 2014

Sunday, February 23, 2014

Saturday, February 22, 2014
Felted Crochet Slippers for Women PROMOTION!!! FREE DOWNLOAD FOR FIRST 20 RAVELERS
Enter Code: Hobbity at http://www.ravelry.com/redeem/lydia-hamilton-moss-crochet-designs
Promotion good until end of day Monday. Happy Crocheting!!!

Promotion good until end of day Monday. Happy Crocheting!!!
Sunday, February 16, 2014


Saturday, February 15, 2014


Friday, February 7, 2014
Felting Tip: How to Find Both Yarn Ends of a Skein
This is a great tip for those patterns that call for "two strands of worsted weight yarn" for felting. You do NOT need to buy two skeins if you have the yardage you need in one.
Saturday, January 25, 2014
Cascade 220 Heathers and Solids: What They Look Like Felted.
Over the past month or so I've been testing slippers for my Hobbity Slipper pattern. The result has been an assortment of colour combinations in lovely felted fabric. I'm not sure what I'm going to do with them yet. Any ideas? They're too beautiful to throw away!

Cascade 220s in mostly Heathers and some Solids. Used two strands for felting.
Monday, January 20, 2014
Factors to Consider When Felting In A Frontloader Washing Machine
Thought you couldn't felt in your front loading washer? Think again. It's absolutely possible. But there a few things you need to know:
1. Always make a swatch or swatches. Measure before and after felting.


Here is an example of some slipper sole swatches. There is still a lot of stitch definition so I ended up felted a second time (not shown here). Without felting the swatches you make you won't have a proper gauge for your end product. Make a swatch using the yarn type and color you intend to use as some colors of the same yarn felt at different speeds. Really. It's true!
2: Water temperature: go for the sani-wash if you have the option. It is hot tap water which is additionally heated by the machine. If this is not an option, pick the hottest wash possible with a cold rinse. The cold rinse is important as it "shocks' the fibres and is responsible for a large part of the felting process.1. Always make a swatch or swatches. Measure before and after felting.
Here is an example of some slipper sole swatches. There is still a lot of stitch definition so I ended up felted a second time (not shown here). Without felting the swatches you make you won't have a proper gauge for your end product. Make a swatch using the yarn type and color you intend to use as some colors of the same yarn felt at different speeds. Really. It's true!
3: Agitation:

If the pieces of clothing you adding are too big, they can envelop the item to be felted and actually stop it from being agitated by the tennis balls etc.
I do not recommend putting your item in a mesh bag with tennis balls. The space is too cramped, and in my attempts, the felting turned out uneven.
4. As yarns felt at different rates, pause your washer and check on item intermittently to make sure you don't take it further than you want.
5. You may have to do more than one cycle to get the felting where you want it to be. If after two cycles you want further felting, I suggest doing it by hand (it's not so bad if you do it in front of a good TV show).
6. Some felters recommend wetting your piece before putting it in the wash. Make sure other clothes are dry though (make sure you put the other items in the dryer if you are doing more than one cycle) or the machine will add too much water).
7. Work in all loose ends really well into work before felting. loosely close any potential holes with a yarn and needle.
8. Do not use the spin cycle if you are felting a large piece such as a bag, it may distort the shape. For something small like a slipper, the spin cycle is fine.
Please add to comments section if you have any tips to add. Happy felting everybody!
Sunday, January 19, 2014
Felted Crochet Slipper: The Hobbit Slipper V.2
The Hobbit Slipper is Almost There.
I'm thinking about recruiting a couple of volunteer pattern testers and technical editors. Anyone interested?
The pattern is easy+ and requires someone who can crochet at that level (preferably intermediate).
Also, experience with felting or slipper making will help a lot. Originally I was going to send the materials but I'm thinking it may be easier to send an Amazon gift card for the costs of the yarn so that you can buy your yarn locally. Contact me via comments or mosscrochet@gmail.com. You also get a copy of the completed pattern for free.
I'm taking Wednesday through Saturday to try to finalize the pattern and would be looking for folks who could work within that time frame. You would have consistent access to me if you get stuck, have questions etc.

Thursday, January 16, 2014
How to get the Correct Size When Felting Crochet Slippers
Hi +Lydia Hamilton I am
not very good at this sort of thing but my partner is and I do like fashion,
whether vintage or home made (my partner is currently heavily into sewing). My
question is how do you get the fit and shape right, as I assume it must be
difficult? Sorry for the long verbose question but I love your hobbit slippers.

Hi +David Haylett, Thanks for
getting in touch.
It hasn't been easy, but I've been slowly creating a pattern based on a pair of slippers a made approximately a year ago (I'll never NOT write down a pattern again).
My pattern calls for a swatch to be made as per usual with hook size and yarn requirements. The pattern also calls for the swatch to be felted. If the felted swatch matches the gauge requirements, then the pattern should come to the appropriate size.
In addition to this, one can felt the slipper in increments as to make sure it's the right size or even to modify the pattern's intended size.
My patterns are based on pretty heavily felted processing, so it would be hard to over-felt (but not impossible) to come out with a slightly smaller version than the pattern indicates.
Lastly, there's some stretch while the slipper is still wet and newly felted and it can be molded with your hands from the insides to the shape, and to some degree the size, you desire.
I hope this helps!
All the best,
Lydia
#feltingcrochet, #feltedcrochet, #feltedslippers, #felting #crochetslippers
It hasn't been easy, but I've been slowly creating a pattern based on a pair of slippers a made approximately a year ago (I'll never NOT write down a pattern again).
My pattern calls for a swatch to be made as per usual with hook size and yarn requirements. The pattern also calls for the swatch to be felted. If the felted swatch matches the gauge requirements, then the pattern should come to the appropriate size.
In addition to this, one can felt the slipper in increments as to make sure it's the right size or even to modify the pattern's intended size.
My patterns are based on pretty heavily felted processing, so it would be hard to over-felt (but not impossible) to come out with a slightly smaller version than the pattern indicates.
Lastly, there's some stretch while the slipper is still wet and newly felted and it can be molded with your hands from the insides to the shape, and to some degree the size, you desire.
I hope this helps!
All the best,
Lydia
#feltingcrochet, #feltedcrochet, #feltedslippers, #felting #crochetslippers
Wednesday, January 15, 2014
Felted Crochet: The Hobbit Slipper. First Trial With the Pattern In The Works
It's exciting to finally have a workable pattern for a prototype of the Hobbit Slipper. It needs a lot of tweaking but working from my own pattern rather than just winging it is really satisfying. It has been a lot of work and there's more work ahead to get it just right. I'll keep posting as I get closer to the finished design. Feedback is welcome!


First Prototype for the Hobbit Slipper
Friday, January 10, 2014
Felting Crochet: Important Information.
It's important to remember that when crochet is felted is shrinks more side-to-side than it does from top to bottom.
After felting, it measures 3"x3"; a perfect square. This means that it shrunk by 25% top to bottom and 40% side to side (fig. 2). (The second to last swatch in the picture below).
The last three swatches on the right are all 10 stitch-by-10 row swatches that were orginally 5"x 4" in dimension. They consistently felted to 3"x3" squares using several types of worsted yarns (double stranded) on an 8mm hook.
It's always good to do a swatch for any crochet pattern you use. It's doubly important when felting. One might assume crochet felt the same and as a knit product, but in fact knit tends to shrink more top to bottom, the reverse of crochet. Keep this in mind as you dream up your next felting project. I find when working in the round, I average the two measurements and expect around 30% shrinkage as a rule.
I hope you find this information helpful. I wished I'd made swatches in the past. It would have prevented a few felting disasters! Please add to the comment section if you have more helpful information about felting crochet. So much of the information available online about felting relates to knitting, leaving us hookers guessing.
For example, here is a picture of a swatch made of two strands worsted weight (8mm hook) 10 stitches by 10 rows.. It measures 5'' across and 4" tall (fig. 1).
 |
| fig. 1 |
After felting, it measures 3"x3"; a perfect square. This means that it shrunk by 25% top to bottom and 40% side to side (fig. 2). (The second to last swatch in the picture below).
.JPG "Examples of felted crochet swatches") |
| fig. 2 |
I hope you find this information helpful. I wished I'd made swatches in the past. It would have prevented a few felting disasters! Please add to the comment section if you have more helpful information about felting crochet. So much of the information available online about felting relates to knitting, leaving us hookers guessing.
+felting +crochet +felting crochet
Wednesday, January 8, 2014
The Digital Pillow
For some reason the colour combinations in this pillow look like a pixelated pattern to me. Not that I mind. I think it's partly the colour combination and using one consistent colour (red) with a second strand of changing colour (scraps). I'm sure glad I stocked up on good quality pillow inserts from Tuesday Morning. I've got one regular sized, and one giant goose down inserts left to go. I have an almost finished pillow made by wrapping crochet around a thicker yarn which I will post pictures of when it's finished. It's kind of a neat effect as well.
Front


Back

Wednesday, January 1, 2014
Merino Neck Warmer for Men
This neck warmer is thick enough to keep out the wind while cycling in our damp Vancouver weather. Looks great too!


Monday, December 30, 2013
That 70s Pillow
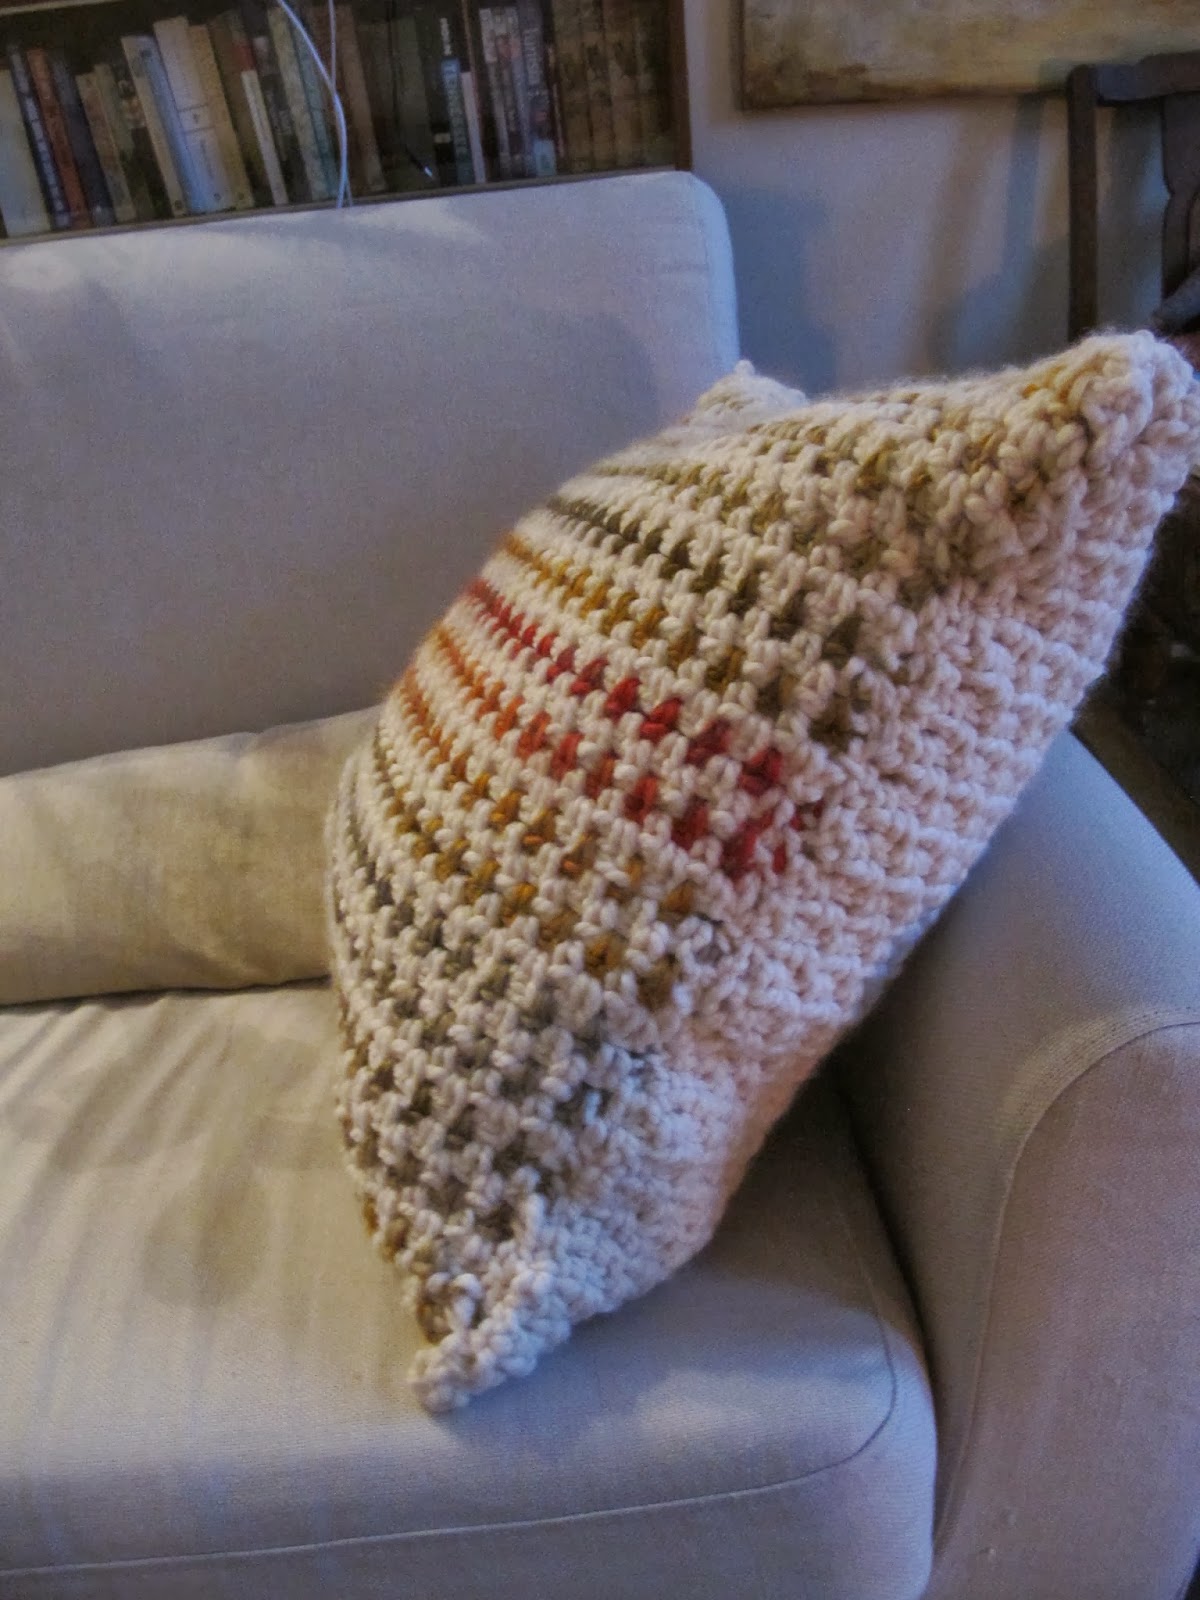
Moss Stitch with Chunky Off White Cozy Wool from +Michaels. Every 3rd row in a variegated Chunky yarn. Goose Down Insert (Thank you for existing +Tuesday Morning). Super comfy 70's looking pillow.
Saturday, December 28, 2013
My Most Favourite Slippers Ever! The Hobbit Slipper.
I'm hoping to have the pattern available on Ravelry by January 26th. I'll announce it on my blog once it's up. Follow my blog via Bloglovin or by email for a notification once it's available for download.

 |


Wednesday, December 25, 2013
Very Last Minute Stocking Stuffers! Neck Warmers
Each neck warmer only took around 45 minutes each start to finish. Perfect as a last minute stocking enhancer! Merry Christmas everybody!

Saturday, December 21, 2013
Crocheting With Twine
Crocheting with twine is a finger work out that's worth it. You can make amazingly simple yet beautiful containers that are also functional. The examples shown below are all single crochet. You start by creating a flat round for the bottom and then discontinue any increases and work in rounds of the same number of stitches until you reach the desired height. I use three in my bathroom to organize toiletries and another larger one for crochet projects in progress.


Hemp Twine


I love the look of the light shining through the holes and the fuzziness of the twine. It kind of reminds me of some kind of sea anemone. I'm not sure what it is made of. I picked up a giant spool of it from Home Depot for around $12.00


I never managed to get the uniformity I've seen on pinterest and such. I'm guessing it's because I didn't use crafting hemp skeins which to my mind were exorbitantly priced. My hemp twine came from a small garden shop for $4 a pop, a fraction of the price of Michael's offerings. It varies quite a bit in terms of size of string, hence the variations in the finished project. Definitely go with a craft specific hemp if you are after a more polished look.
Thursday, December 19, 2013
More T-Shirt Yarn Pics
T-Shirt Yarn
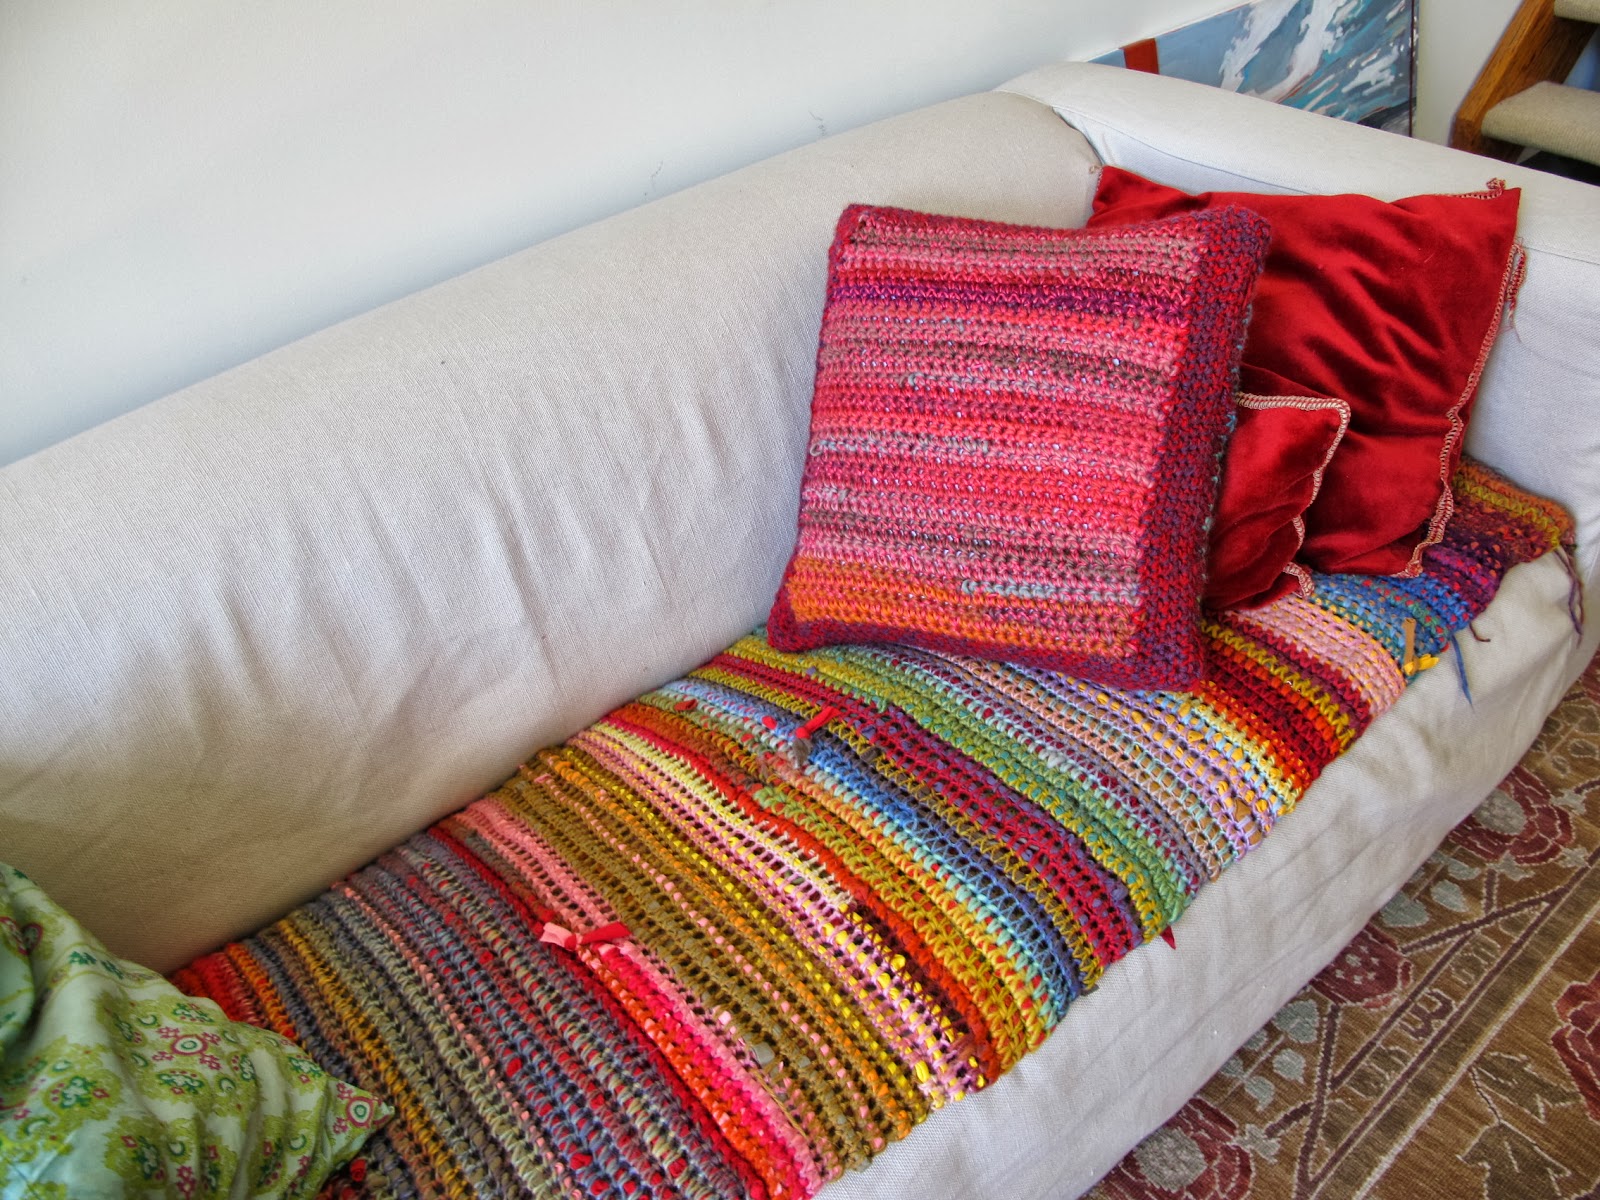
The second example is purely crocheting T-Shirt yarn. The other examples are T-Shirt yarn that is essentially wrapped and held together by a simple crochet stitch. As mentioned in an earlier approach, I discovered this technique on a Russian website (see post Olga from Odessa). For this couch cover, I used scraps of both regular yarn and T-Shirt yarn to create a much softer fabric than can be had by using T-Shirt yarn alone. The pillow in the picture is purely single crochet with a border, again using scraps of yarn.
At some point I started to use super bulky yarn as a replacement for the T-Shirt yarn which created an incredibly soft fabric that I have used to create pillow covers and would also be perfect for a small blanket or scarf. I will post pics of this approach soon.


Crocheting T-Shirt yarn (rather than wrapping with a lighter weight yarn) creates a very dense finished product suitable for a rug. It would also make an awesome doormat perhaps crocheted as a no space, giant granny square.


Subscribe to:
Posts (Atom)